
Ditch the Default: Personalize Your iPhone with Unique Custom Ringtones!
Tired of the same old iPhone ringtones? Do you scramble for your phone every time "Opening" blares, only to realize it's not yours? Well, say goodbye to ringtone confusion and hello to a world of personalized audio bliss! Creating custom ringtones for your iPhone is easier than you think, and it's a fantastic way to inject some personality into your device.
This post will guide you through the process of crafting unique ringtones, from choosing the perfect sound to getting it onto your iPhone. Get ready to stand out from the crowd!
Why Custom Ringtones?
Beyond the obvious coolness factor, custom ringtones offer several benefits:
- Instant Recognition: Know instantly who's calling without even looking at your screen.
- Express Yourself: Use your favorite song snippets, sound effects, or even voice recordings to reflect your individual style.
- Avoid Awkward Moments: No more mistaking someone else's phone for yours in a crowded room.
- Fun and Creative Outlet: Explore your inner DJ and create something truly unique.
How to Create Custom Ringtones:
There are a few different methods you can use, each with its own pros and cons:
- GarageBand (MacOS/iOS): This free app offers a powerful and intuitive way to create ringtones. You can import audio files, trim them, add effects, and even record your own sounds. It seamlessly integrates with your iPhone, making the transfer process a breeze.
- iTunes (Older MacOS Versions): While iTunes is no longer the primary media management tool, older versions offer ringtone creation capabilities. This method involves converting AAC files and renaming extensions, which can be slightly more technical.
- Third-Party Apps (iOS): Numerous apps in the App Store specialize in ringtone creation. These often provide pre-made sounds and easy-to-use editing tools. However, some may come with in-app purchases or limitations.
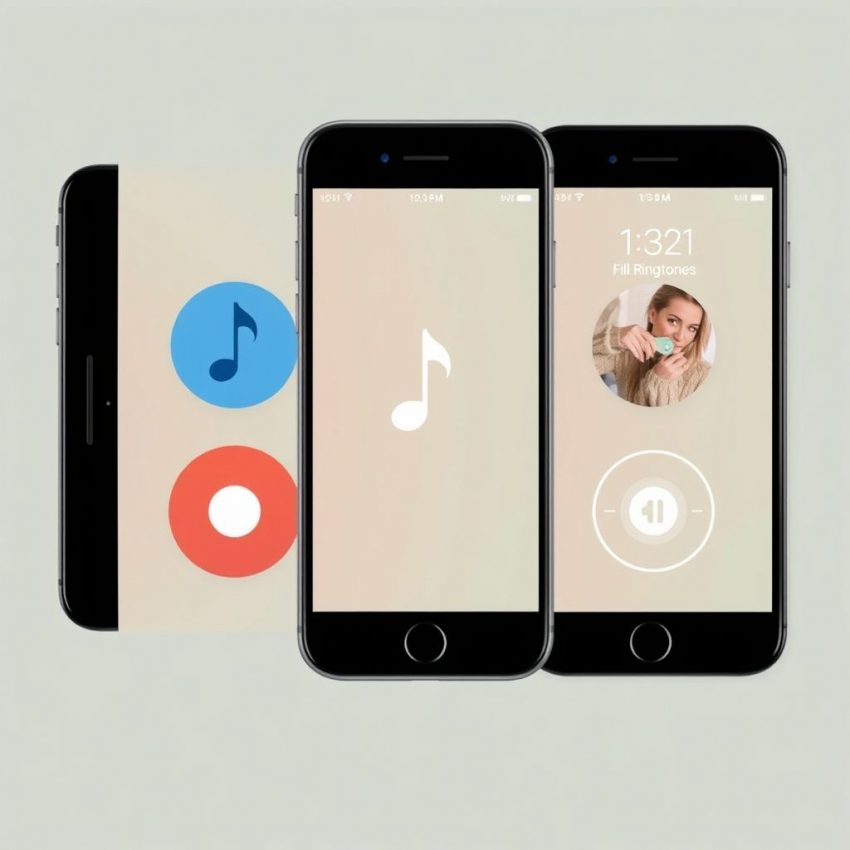
A Quick Guide Using GarageBand (iOS):
- Open GarageBand and create a new project. Choose the "Audio Recorder" option.
- Import your desired audio file. Tap the loop icon at the top right, then navigate to the "Files" tab.
- Trim and edit the audio. GarageBand offers intuitive tools to select the desired portion of your audio. Remember, ringtones are typically around 30 seconds long.
- Export your ringtone. Tap the down arrow icon, then "My Songs." Long-press your newly created ringtone and select "Share." Choose "Ringtone" and give it a name.
- Sync to your iPhone. Your custom ringtone will automatically be available in your iPhone's settings.
Setting Your Custom Ringtone:
- Go to Settings > Sounds & Haptics > Ringtone.
- Your custom ringtone should appear at the top of the list. Select it to make it your default ringtone. You can also assign custom ringtones to specific contacts for even more personalization.
Tips for Creating Awesome Ringtones:
- Keep it short and sweet: Aim for around 30 seconds or less.
- Choose a recognizable part of the song or sound: You want to be able to identify it quickly.
- Consider the volume and clarity: Make sure your ringtone is loud enough to hear but not jarring.
- Get creative! Experiment with different sounds and effects to create something truly unique.
Ready to ditch the default? Start creating your personalized ringtones today and let your iPhone reflect your unique style!
Don’t miss out on this exclusive deal, specially curated for our readers! Project Cloud Leather Womens Sneakers
This page includes affiliate links. If you make a qualifying purchase through these links, I may earn a commission at no extra cost to you. For more details, please refer to the disclaimer page. disclaimer page.